APIs of WPC3700
Noun abbreviation WPC: Wi-Fi power controller
API of WPC Series Power Controller
This article mainly introduces the APIs provided by the WPC Series Power Controllers. Through these APIs, users can perform the following operations:
- Configure WPC parameters
- Control WPC output power
Who Should Read This Article
This section is placed at the beginning because, although we wrote this article, it is actually not relevant to most WPC users.
If you have obtained a WPC series power controller, there are a few possible modes of operation:
- You have already installed IAMMETER meters on the grid side and are directly using the WPC3700 in conjunction with IAMMETER meters (WPC3700 operates in auto mode), allowing the WPC3700 to work continuously under the drive of solar surplus, which is the IAMMETER solution PV Heater Control System.
- You don't have an IAMMETER meter, but you are familiar with Home Assistant or Node-RED and have integrated the WPC3700 into the HA or Node-RED automation system (Enable MQTT discovery in Home Assistant with the latest IAMMETER firmware (i.76.058.8)).
- You need to call the API to integrate the WPC3700 into your own system.
Only users who require the third mode of operation should read this article.
/api/setpower
/api/setpower?x=100
Introduction
This API controls the output power of the WPC.
Note: This parameter can also be modified through the setadv API (HTTP POST call, setPower parameter).
Since the setPower parameter may need to be frequently modified based on real-time grid power readings, this additional HTTP GET API interface is provided.
URL and Method
URL: http://{{IP}}/api/setpower
Method: HTTP GET
| Parameter Name | Example Value | Unit | Required | Type | Description |
|---|---|---|---|---|---|
| x | 100 | W | Yes | int | Represents the power output of the WPC. This is the same parameter as setPower in setadv. |
/api/setadv
Introduction
This API is used to set the parameters of the WPC.
Note: All parameters can be directly set through the UI. Only a small number of customers who need to integrate WPC series products into their own systems will use this API.
URL and Method
- URL:
http://{{Local IP of the WPC}}/api/setadv - Method: HTTP POST
Request Parameters
Below is an example of setadv parameters.
Note: When executing setadv, not all parameters need to be submitted. Only the parameters that need to be modified should be submitted. Parameters that do not need modification do not need to be submitted. You can first use getadv to read the current configuration, then only submit the parameters that need to be modified.
{
  "maxPower": 3500,
  "setPower": 0,
  "restorePower": 0,
  "setPowerMode": 0,
  "meterAddress": "10.10.30.35",
  "threshold": 30,
  "hysteresis": 50,
  "startHour": 8,
  "stopHour": 18,
  "tzOffset": 8,
  "meterType": 0,
  "meterConfig": "3,2,1",
  "ntpServer": "ntp.aliyun.com",
  "haDiscovery": 1,
  "mqttEnabled": 1,
  "mqttAddress": "10.10.30.89:1883",
  "mqttUsername": "test",
  "mqttPassword": "123456",
  "uploadInterval": 6
}
Response
{
  "successful": 1,
  "message": "ok"
}
Parameter Description
| Parameter Name | Type | Unit | Description |
|---|---|---|---|
| maxPower | int | W | The maximum power of the controlled load, must be less than 3700 |
| setPower | int | W | The power output of the WPC |
| restorePower | int | W | Power after exiting auto mode control |
| setPowerMode | int | Operation mode selection: 0: Manual, 1: Auto | |
| threshold | int | W | In auto mode, this is the threshold for adjusting based on grid power |
| hysteresis | int | W | In auto mode, this is the hysteresis for adjusting based on grid power |
| startHour | int | hour | Start time of auto mode |
| stopHour | int | hour | End time of auto mode |
| tzOffset | int | Time zone offset | |
| meterType | int | Meter brand choice for grid measurement in auto mode: 0:iMeter, 1:virtualTCP | |
| meterConfig | string | Meter model choice for grid measurement in auto mode: 3:three phase, 2:use phaseB, 1:ratio | |
| ntpServer | string | NTP server address | |
| haDiscovery | int | Enable Home Assistant MQTT auto discovery: 0: disable, 1: enable | |
| mqttEnabled | int | Enable MQTT: 0: disable, 1: enable | |
| meterAddress | string | MQTT broker address, needed when integrating with Home Assistant: 192.168.1.22:1833 | |
| mqttUsername | string | MQTT username | |
| mqttPassword | string | MQTT password | |
| uploadInterval | int | s | Upload interval time |
/api/getadv
Introduction
This API reads all the parameters of the WPC (all parameters from the setadv API can be read here).
URL and Method
- URL:
http://{{Local IP of the WPC}}/api/getadv - Method: HTTP GET
Response
{
  "maxPower": 3500,
  "setPower": 0,
  "restorePower": 0,
  "setPowerMode": 0,
  "setPowerModeList": "Manual,Auto",
  "meterAddress": "10.10.30.35",
  "threshold": 20,
  "hysteresis": 30,
  "startHour": 8,
  "stopHour": 18,
  "tzOffset": 8,
  "meterType": 0,
  "meterConfig": "3,2,1",
  "meterList": "iMeter,virtualTCP",
  "ntpServer": "ntp.aliyun.com",
  "haDiscovery": 0,
  "mqttEnabled": 0,
  "mqttAddress": "192.168.1.22:1833",
  "mqttUsername": "test",
  "mqttPassword": "123456",
  "uploadInterval": 60
}
Refer to the description of parameters in setadv.
/api/setwifiadv
Introduction
This API configures the Wi-Fi parameters for WPC/WEM devices.
URL and Method
- URL:
http://{{Local IP of the WPC}}/api/setwifiadv - Method: HTTP POST
Request Parameters
{
    "ssid":"xxxx",
    "pwd":"xxxx",
    "ip":"xxxx",
    "netmask":"xxxxx",
    "gw":"xxxx",
    "dns":"192.168.1.1",
    "dhcp":true,
    "runMode":"cloud", // cloud, tcp, http
    "uploadAddress":"http://myserver.com/upload" // Useful only if runMode is non-cloud
}
Response
{
    "successful": true,
    "message": "ok"
}
Parameter Description
| Parameter Name | Type | Unit | Description |
|---|---|---|---|
| ssid | string | Wi-Fi AP name for the WLAN connection | |
| pwd | string | Wi-Fi password for the WLAN connection | |
| ip | string | Static IP; not required if using DHCP mode | |
| netmask | string | Netmask; not required if using DHCP mode | |
| gw | string | Gateway; not required if using DHCP mode | |
| dns | string | DNS server; not required if using DHCP mode | |
| dhcp | bool | false: disable DHCP, true: enable DHCP |
Reference Documentation
The "hidden" features in the firmware of the Wi-Fi energy meter
Welcome to let us know your thought on our forum. https://imeter.club
About IAMMETER
IAMMETER is a company focused on energy management products and services, offering smart energy meters, management apps, and cloud platforms.
Our goal is to help customers manage, utilize, and save energy effectively, reducing electricity bills through smart monitoring and analysis.
Solutions
Products
- IAMMETER Energy Meters Overview
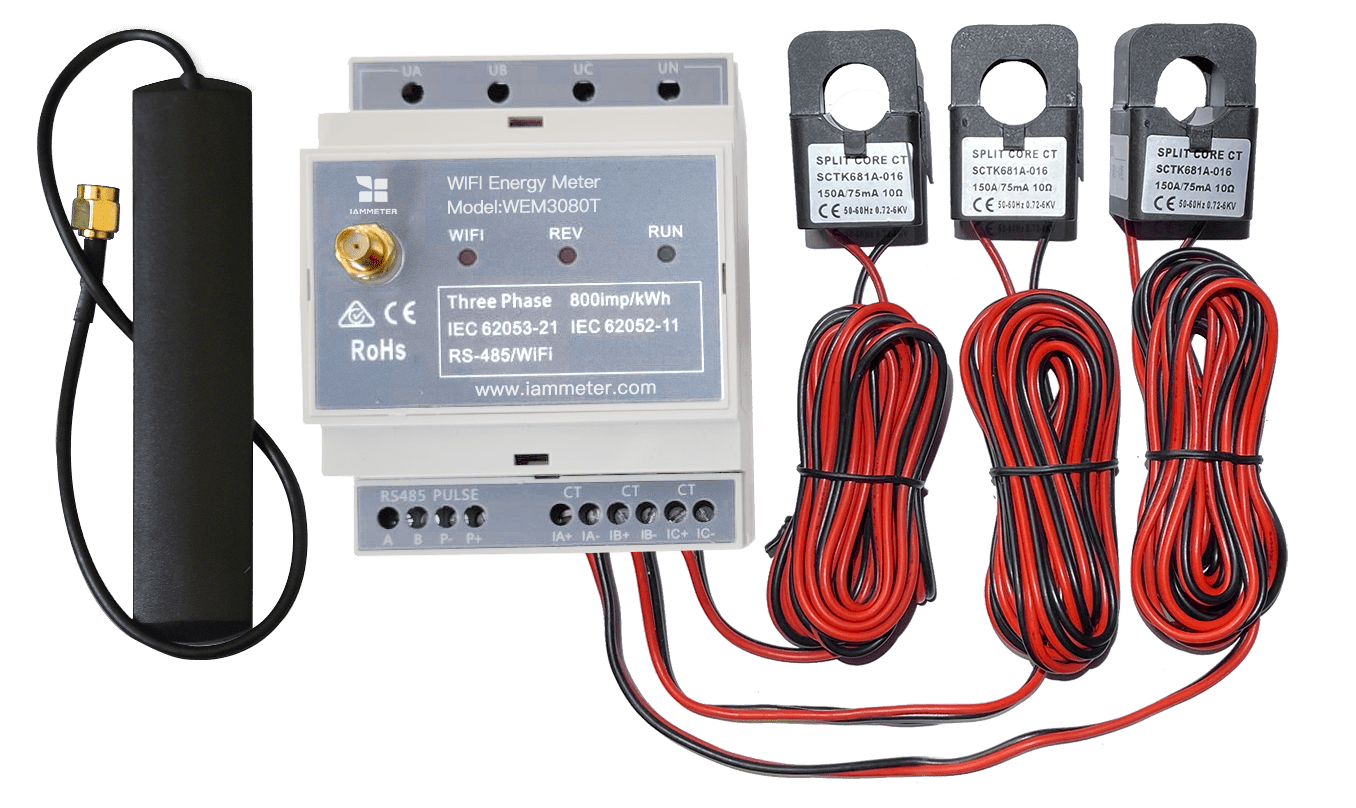
- WEM3080T – Three-Phase/Split-Phase Wi-Fi Energy Meter
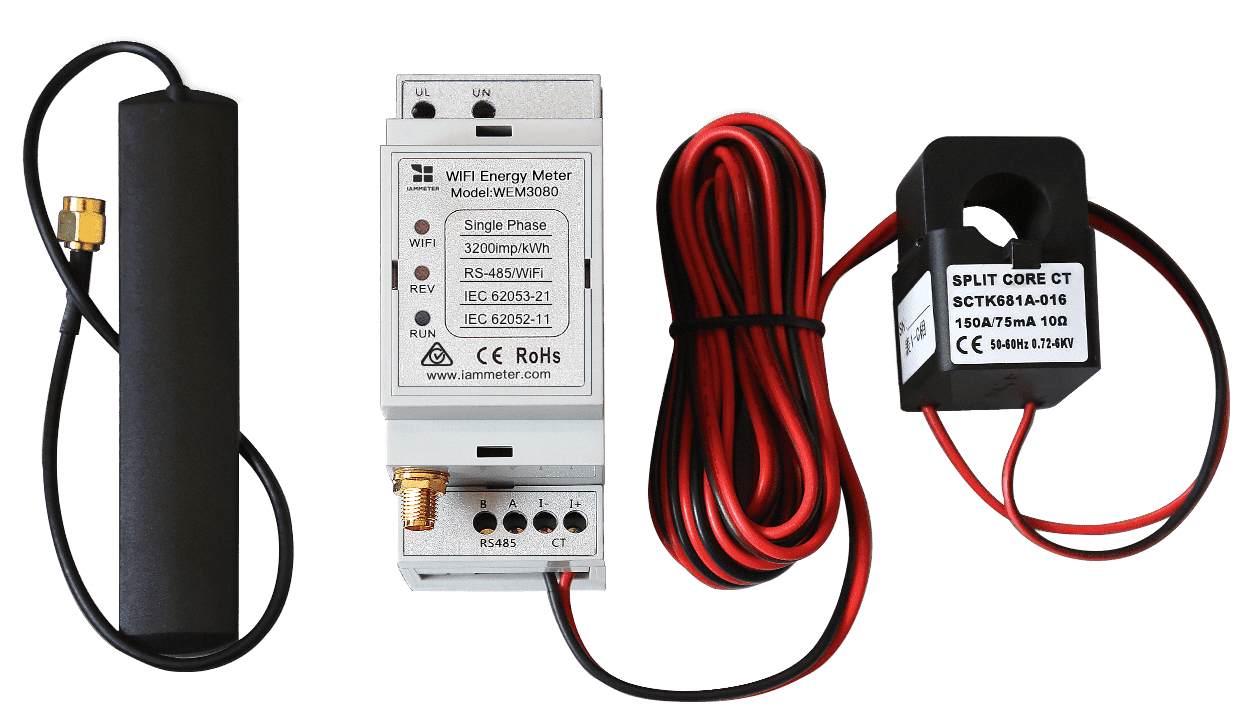
- WEM3080 – Single-Phase Wi-Fi Energy Meter
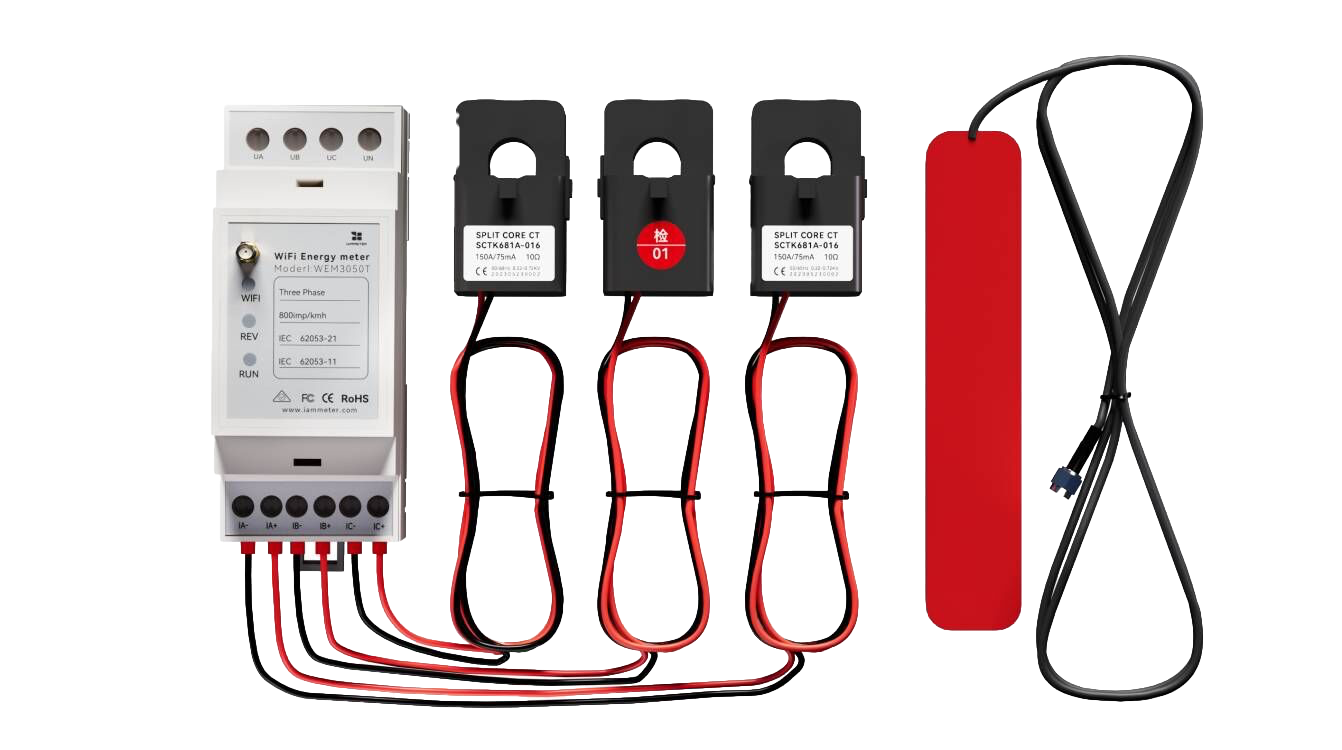
- WEM3050T – Three-Phase Energy Meter
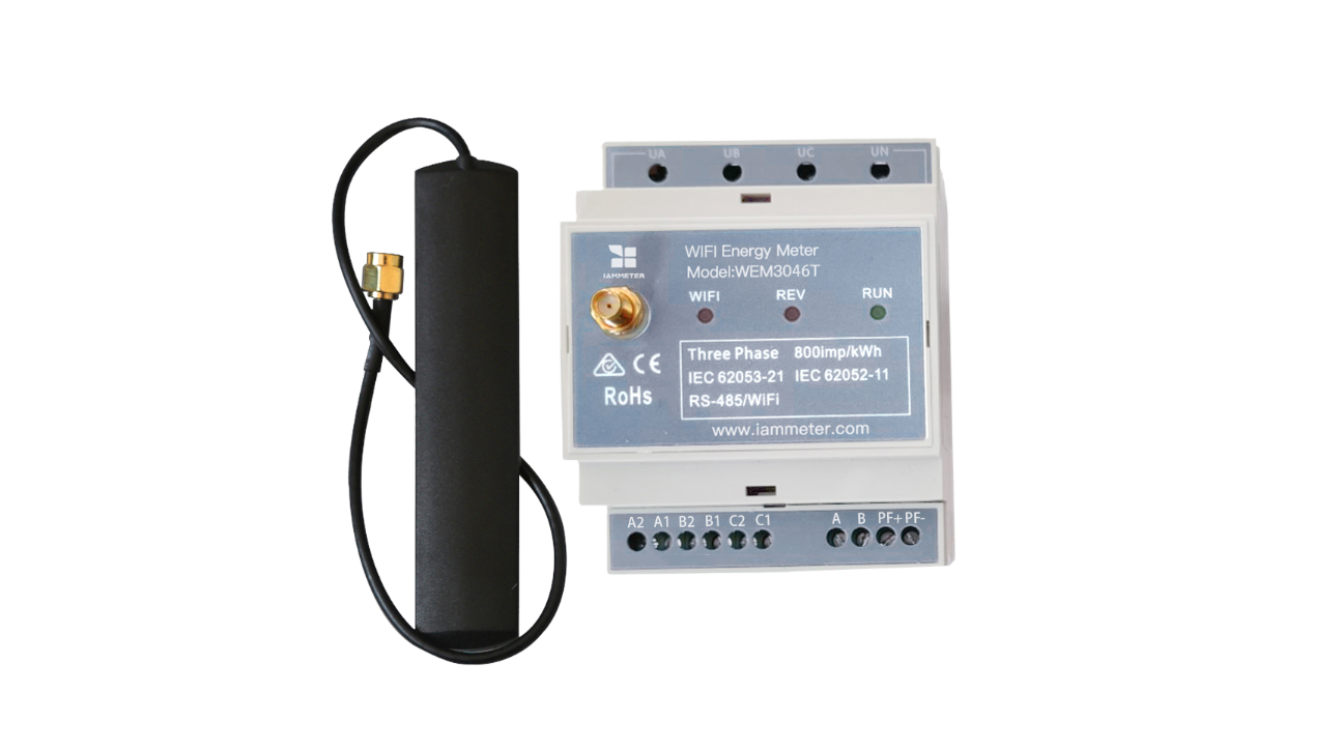
- WEM3046T – Three-Phase Wi-Fi Energy Meter with 5A Standard CT Input


